![]()
- On Peasy Sales Web, Go to “Orders”.
- Click “Settings”.
- As shown on screen, you can click to upload your shop logo.
- Add your Company Name.
- Add your shop description
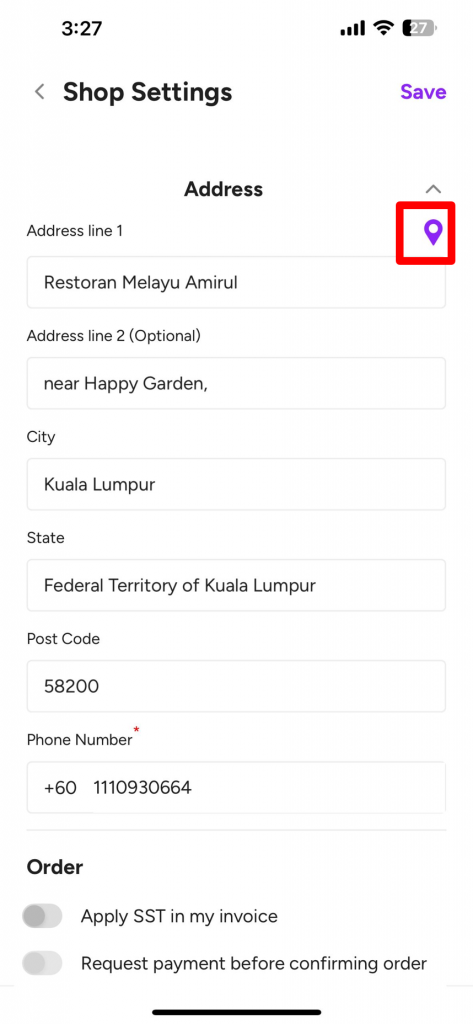
- Click the icon next to the Addresss Line 1. A pop-up will appear. Fill in your location in the Search Location box. Once done, click “Add Location” button.
- Follow below steps to complete your shop setting. Once you have completed all the steps below, Click “Update Setting” at the bottom of this “Settings” page to sync your update and changes.
- On Peasy Sales Web, Go to “Orders”.
- Click “Settings”.
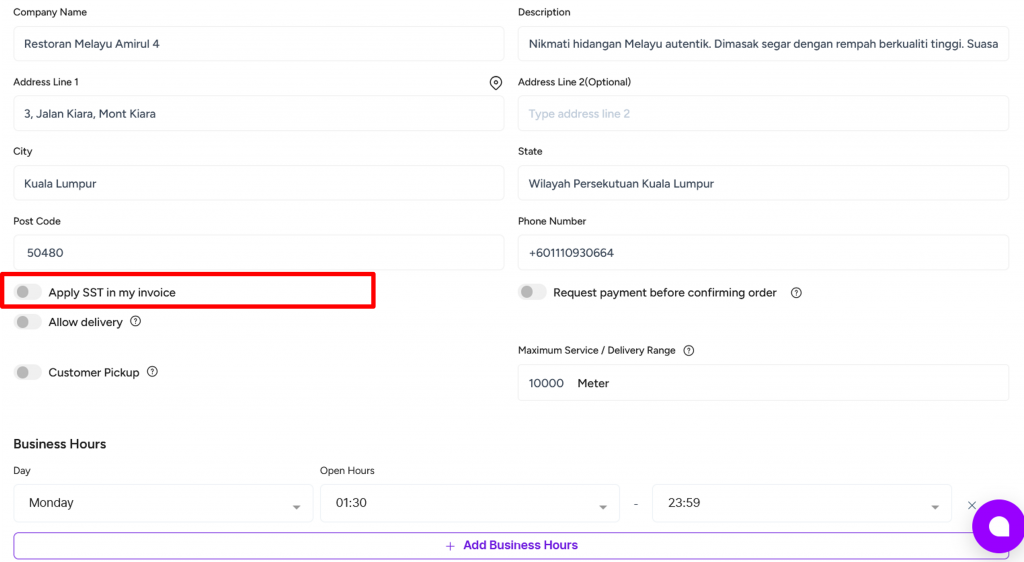
- Go to “Apply SST in my invoice”.
- Click the toggle until turns purple. Grey means you do not wish to apply SST in your invoice.
Pre-requisite:
Kindly make sure you have created your payment gateway account and connect your payment gateway account with Peasy Sales web application.
Click here to learn more.
Otherwise, you will not be able to use this feature and cannot ensure your customer complete payment before confirming order.
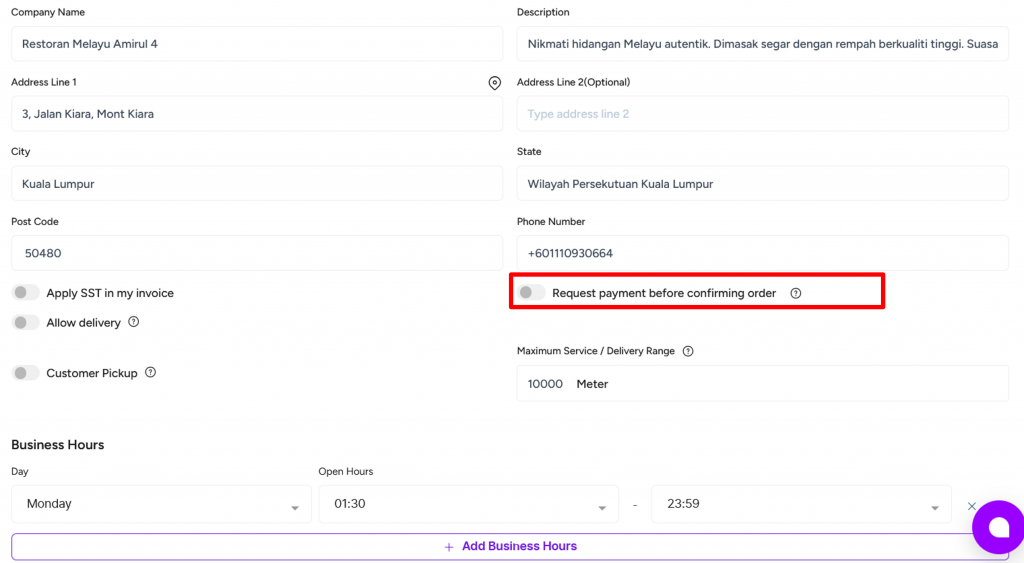
Post payment gateway creation, kindly follow below step:
- On Peasy Sales Web, Go to “Orders”.
- Click “Settings”.
- Go to “Request payment before confirming order”.
- Click the toggle until turns purple. Grey means your customer can confirm their order before making any payment.

- On Peasy Sales Web, Go to “Orders”.
- Click “Settings”.
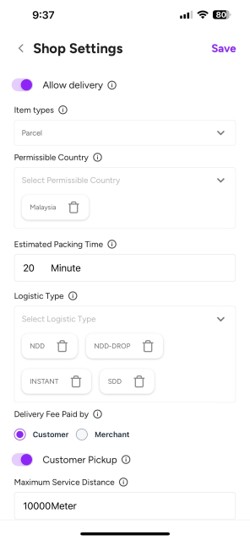
- Go to “Allow Delivery”.
- Click the toggle until turns purple. Grey means you do not wish to allow delivery service for your business.
- Click the downward arrow on the right and Select your item types: (you can select only one item type)
- Parcel for small items, example: laptops, clothing
- Package for both small and large items, example: furniture
- Food for packed fresh food. Only use this item type if you are doing fresh order delivery.
- Add your estimated packing time. Our system will incorporate this packing time along with courier traveling time to share the estimated delivery time to your customers.
Select which party will bear the delivery fee according to your business needs.
Click the downward arrow on the right and Select your permissible country for ordering.
Click the downward arrow on the right and Select your logistic type: (Our delivery partner will automatically give your customers options for the selected courier services (Pos Laju/JnT/etc))
- NDD: Next Day Delivery Service Courier Service (Pick-up services)
- NDD-DROP: Next Day Delivery Service Courier Service (Drop off services)
- SDD: Same Day Delivery Courier Service (3-4 hours)
- INSTANT: Instant Delivery Courier Service (1-2 hours)
Set your maximum service/delivery range.
- Click the downward arrow on the right and Select your item types: (you can select only one item type)
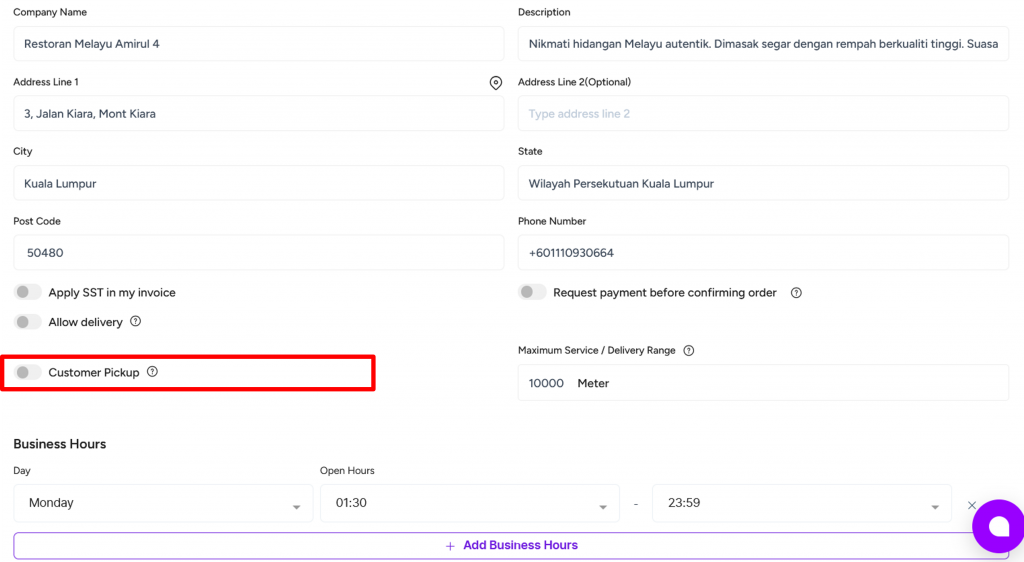
- On Peasy Sales Web, Go to “Orders”.
- Click “Settings”.
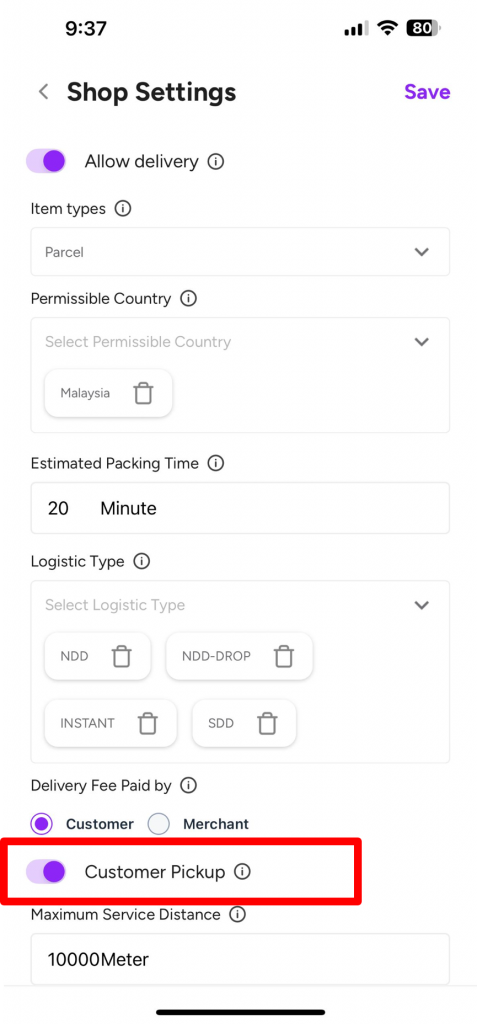
- Go to “Customer Pickup”.
- Click the toggle until turns purple.
- On Peasy Sales Web, Go to “Orders”.
- Click “Settings”.
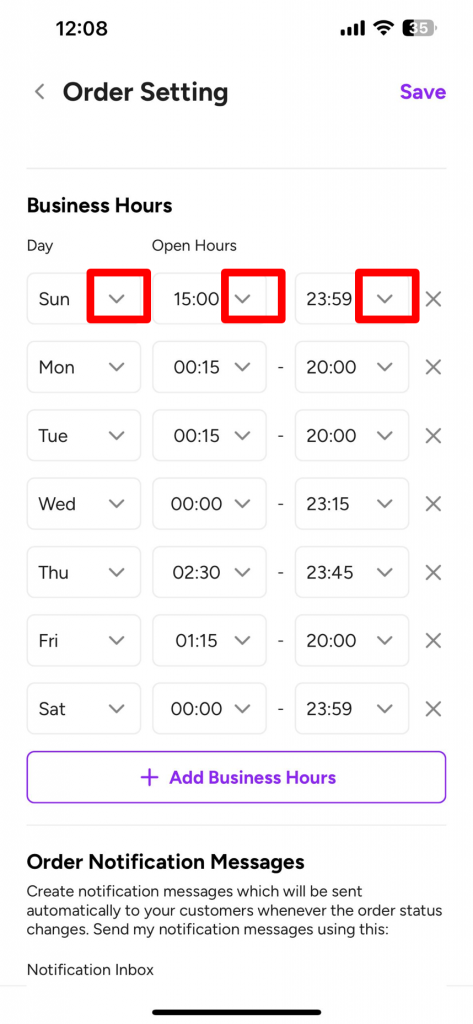
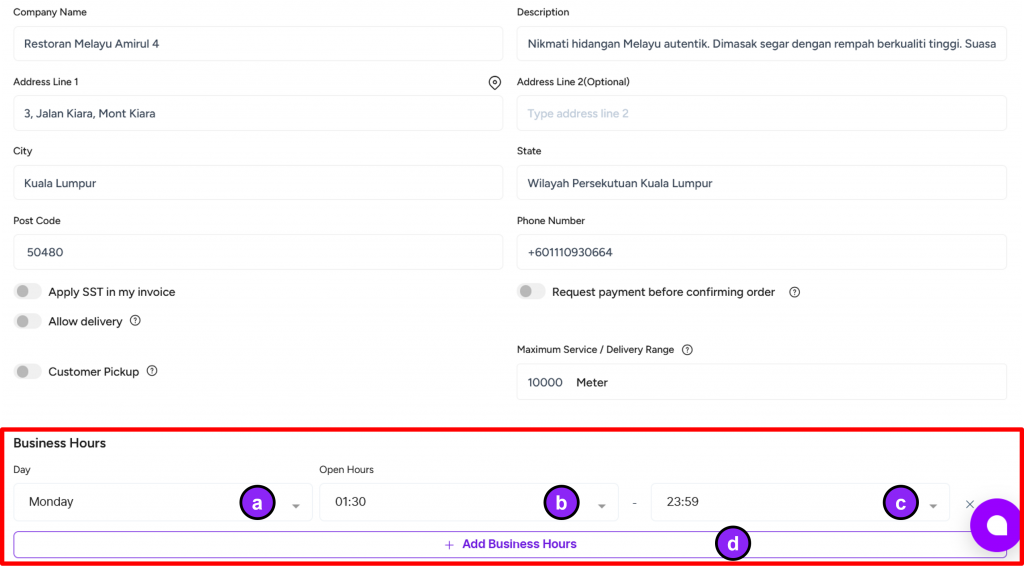
- Go to “Business Hours”.
- Click the downward arrow and select your operation day.
- Click the downward arrow and select your opening hour.
- Click the downward arrow and select your closing hour.
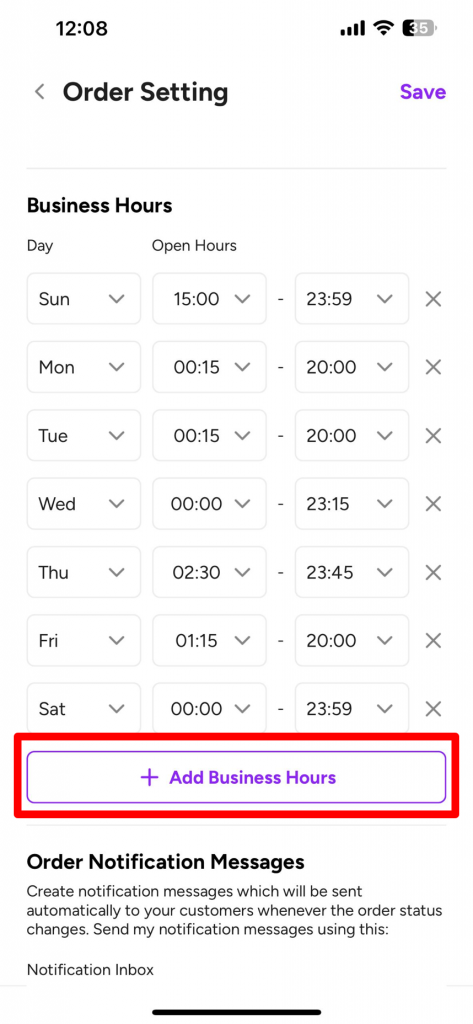
- If you wish to add more business hours data, click “+Add Business Hours”.
- On Peasy Sales Web, Go to “Orders”.
- Click “Settings”.
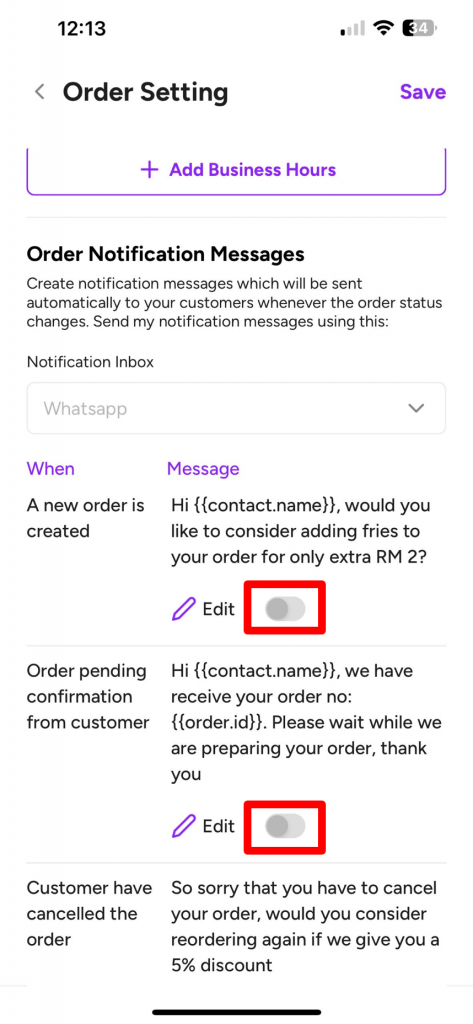
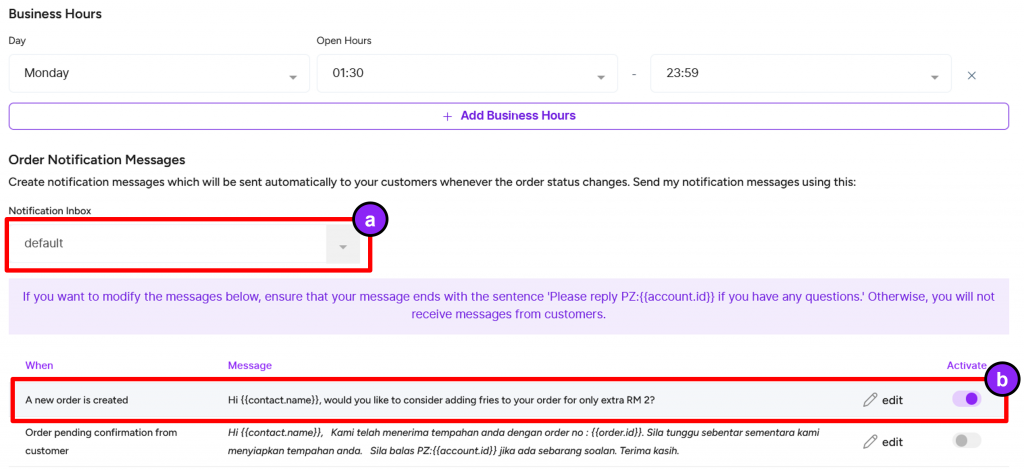
- Go to “Order Notification Messages”.
- Click the downward arrow and select your whatsapp inbox.
- Peasy has created a default list of template messages to sen to your customers according to the timing stated in “When” column.
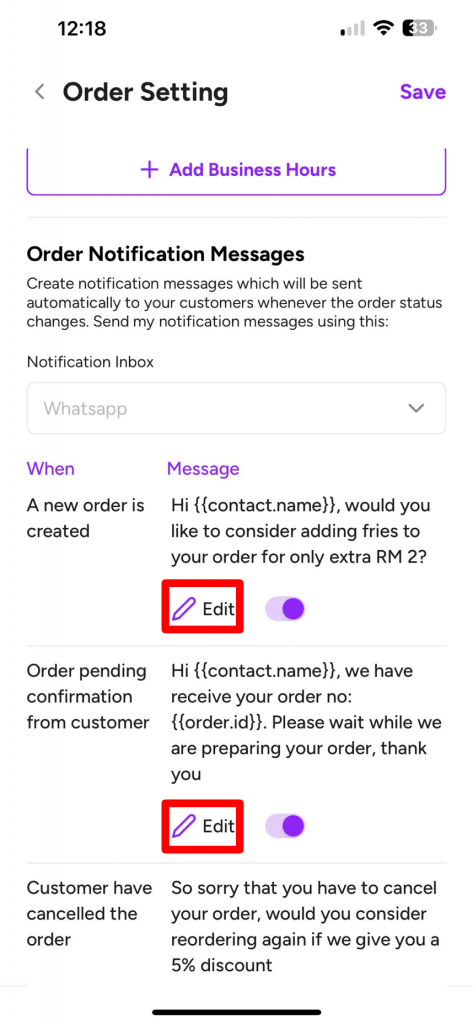
- Click the pencil icon with “Edit”, to replace the existing template. Learn how to create your own personalize template here.
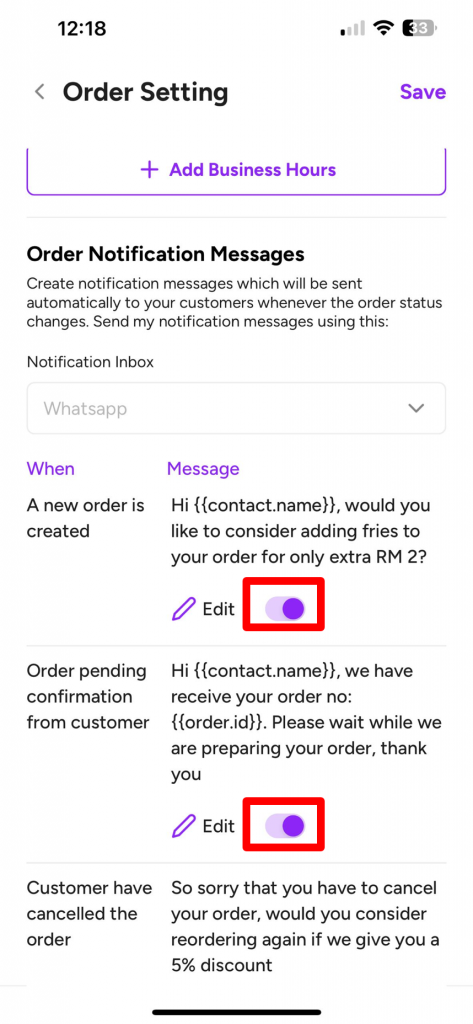
- To activate each row of the order notification message, click the toggle until it turns purple. Grey means the order notification is not active.
Order notification messages will incur messaging charges. Please ensure you have sufficient credit balance to keep this feature functioning properly.
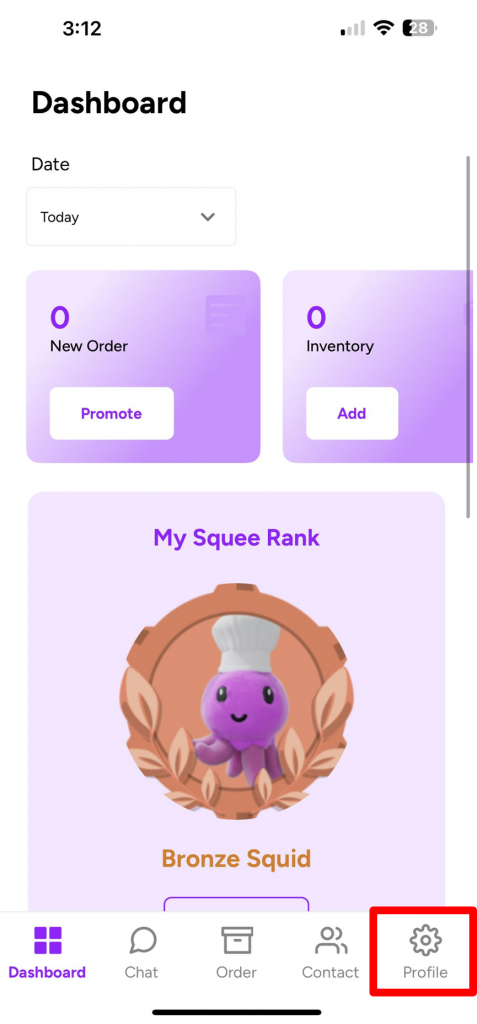
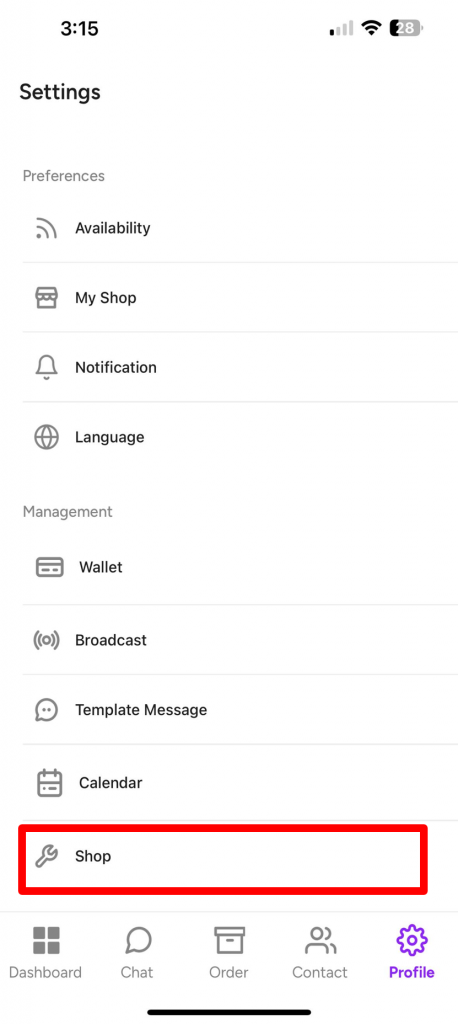
1. On Peasy Sales Dashboard, Go to “Profile”. Click “Shop”.
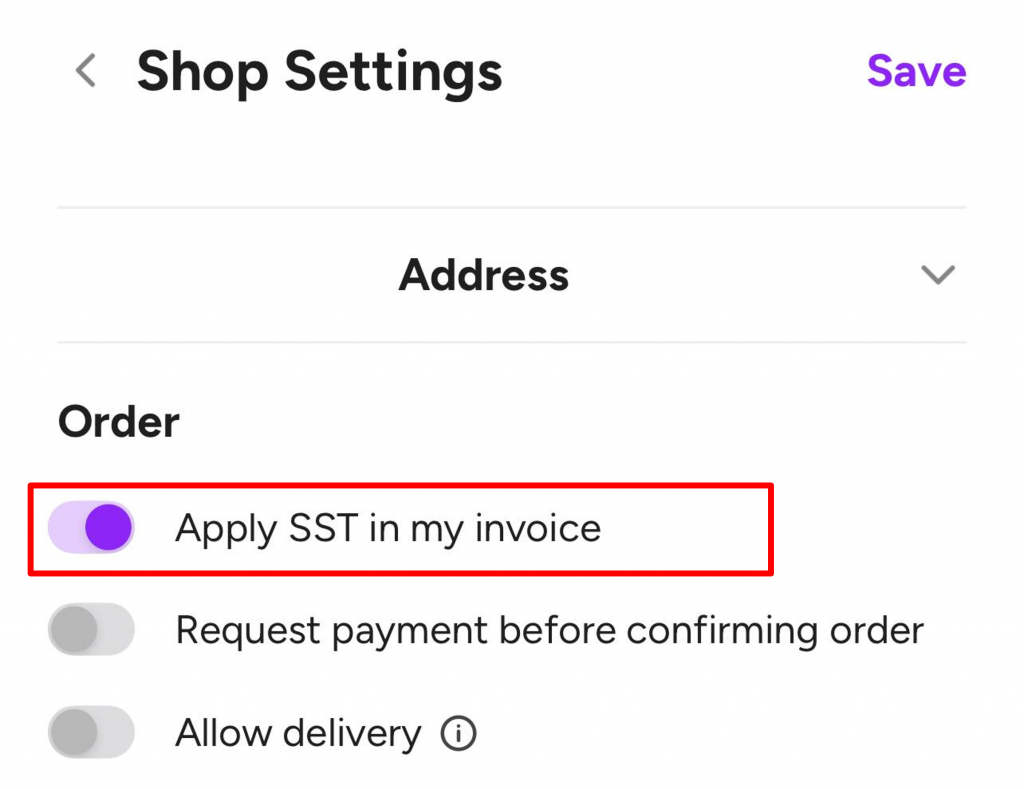
2. Scroll thru the screen until you can view the option for “Apply SST in my invoice”.
3. Click on the toggle until it turns purple. Grey toggle means you do not wish to apply SST in your invoice.
1. On Peasy Sales Dashboard, Go to “Profile”. Click “Shop”.
2. Scroll thru the screen until you can view the option for “Request payment before confirming order”.
3. Click on the toggle until it turns purple. You can only turn this feature on after creating your payment gateway account and connect the account on Peasy platform. Refer here for further guide.